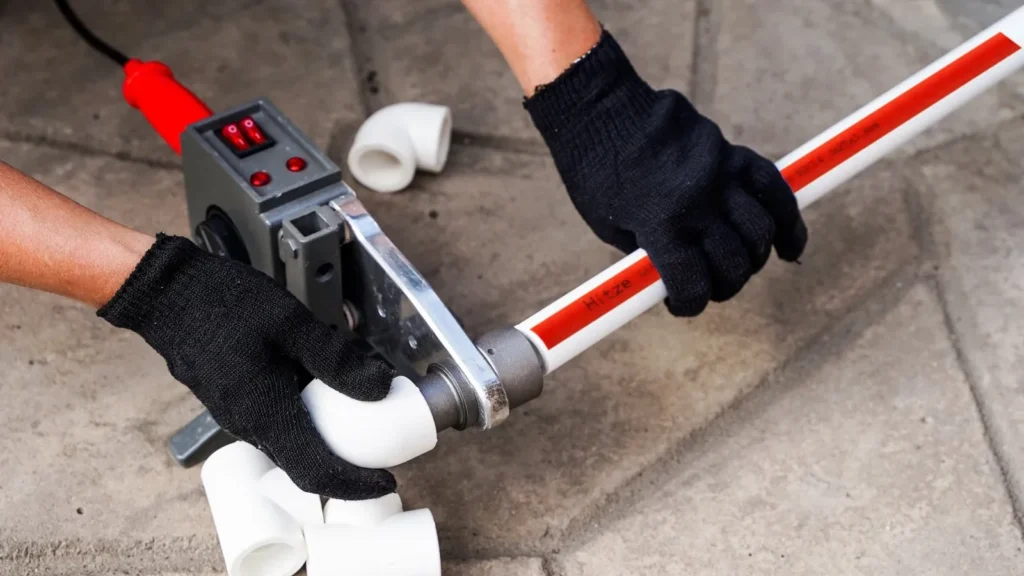
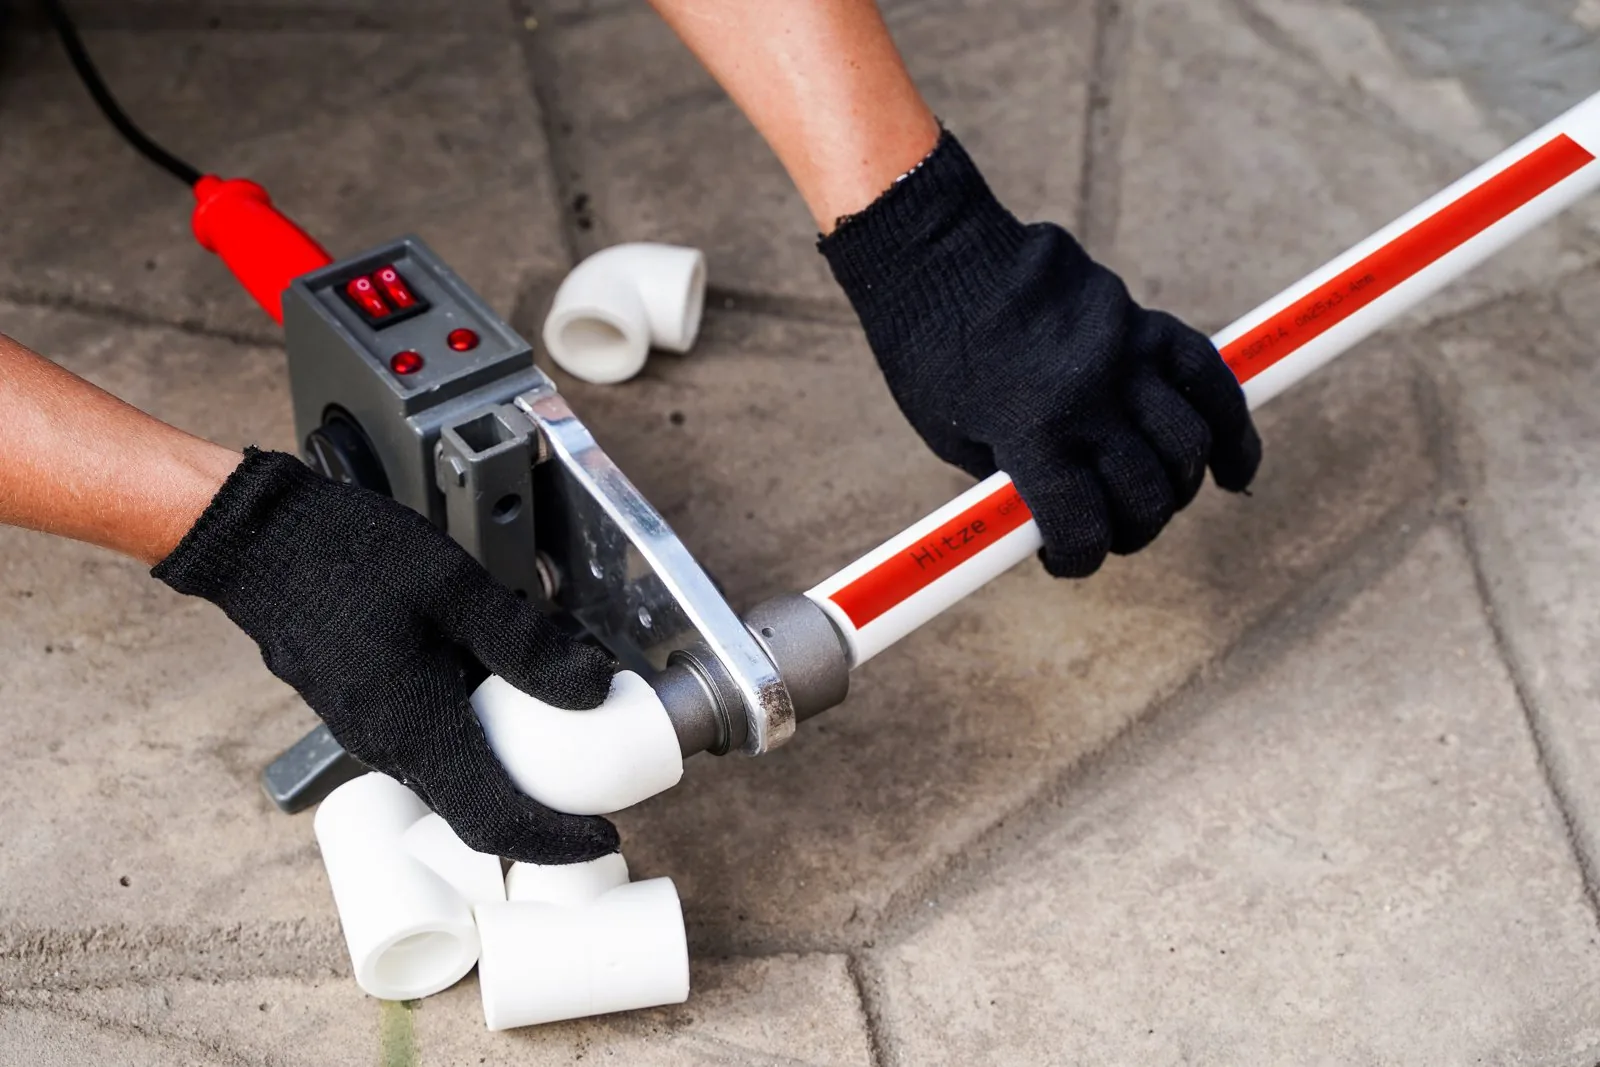
To weld PPR pipe, use controlled heated-element socket fusion: cut the pipe square, confirm that pipe and fitting belong to the approved system, clean and prepare both surfaces, mark the insertion depth, verify the correct heater temperature and size-specific time chart, heat pipe and fitting simultaneously, then push them together in a straight line without twisting. Hold the joint motionless for the required setting period, allow it to cool without load, inspect the bead and alignment, and pressure-test the completed installation under the project-approved procedure.
By the Hitze Technical Content Team · Technical review: 21 July 2026
The workflow is universal; the numbers are not. Heating time, changeover time, insertion depth and cooling time depend on diameter, wall construction, fitting geometry, tool and ambient conditions. ASTM D2657 treats heat-fusion procedures as general guidance and directs installers to obtain product-specific recommendations from the manufacturer. Hitze has not supplied a publishable size-by-size welding chart for this article, so no third-party timing is represented here as a Hitze SOP.
- Use the approved pipe-and-fitting system, tool and parameter chart.
- Never substitute a generic internet time table for the job-specific fusion schedule.
- Heat both surfaces together and join immediately, straight and without twisting.
- Protect the fusion area from dirt, water, wind and uncontrolled movement.
- Reject visibly misaligned, contaminated or over-inserted joints; do not reheat them.
- Inspect every joint and pressure-test the completed system before concealment.
PP-R is a thermoplastic system covered by standards including ISO 15874. The socket-fusion process softens the outside of the pipe and the inside of the fitting socket so their polymer interfaces form one joint as they cool. This guide explains how to control that process for site work; your approved method statement, local code and manufacturer instructions remain decisive.
Before you start: verify compatibility and conditions
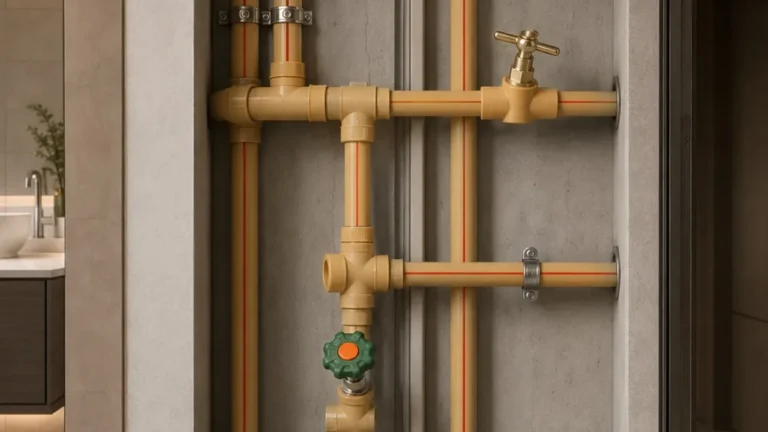
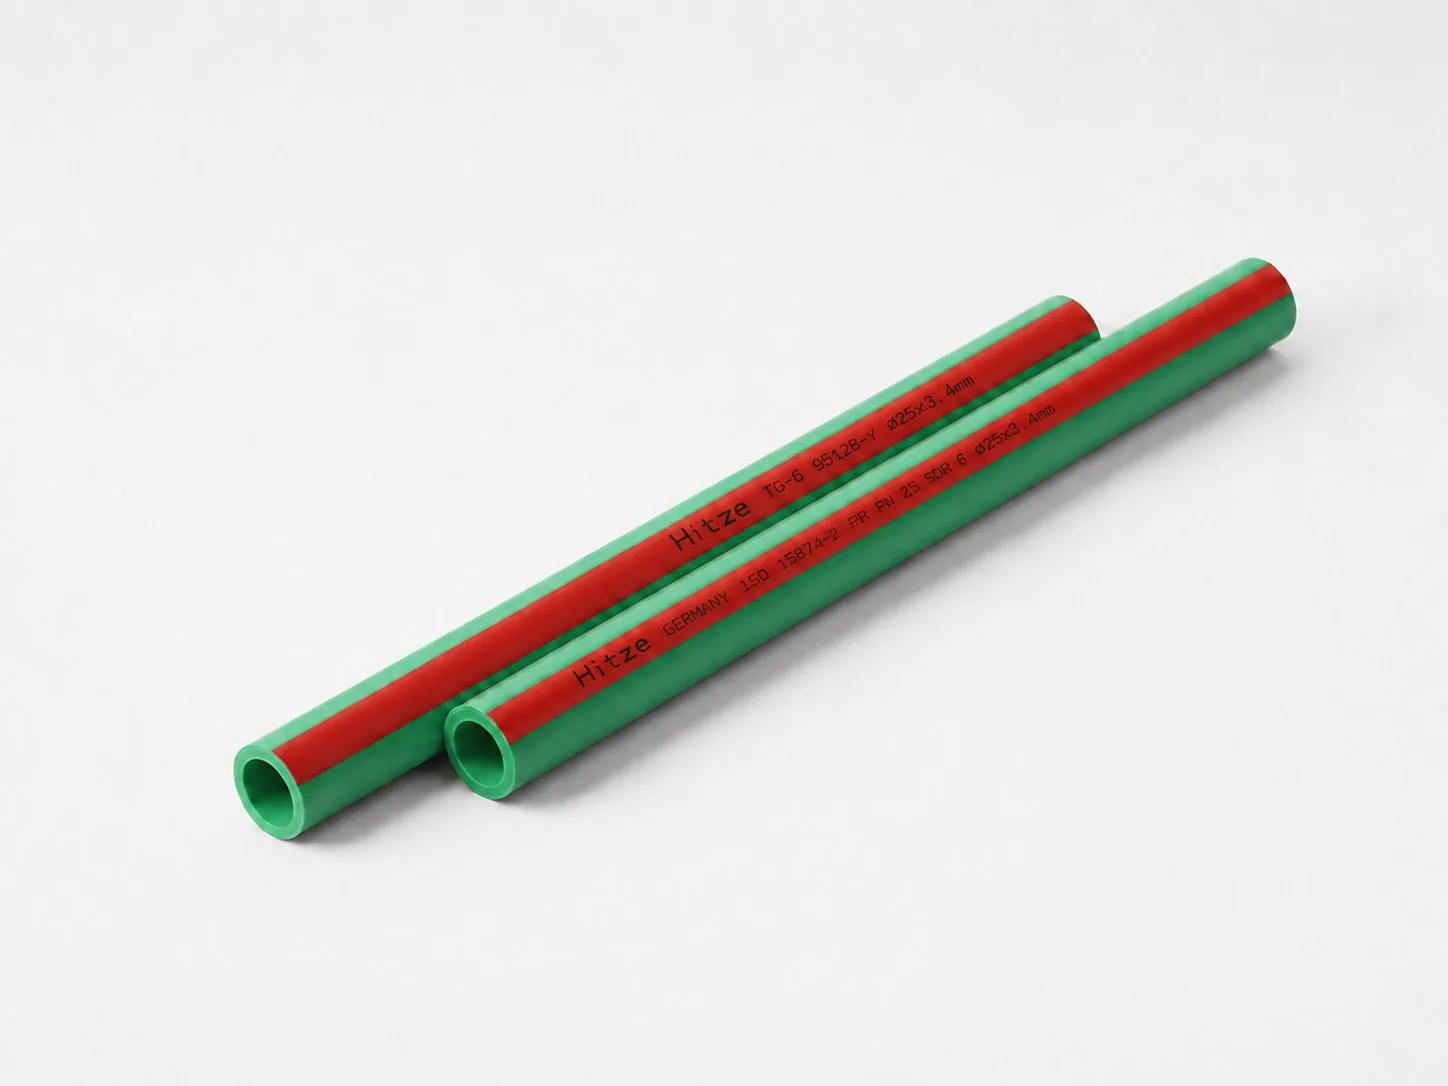
Read the pipe print line and fitting marks before opening the tool case. Confirm material, outside diameter, wall series or application class, standard, batch identification and intended service. A joint can look neat while connecting the wrong construction or size. The Hitze PP-R pipe and fittings range covers OD20–110 and includes ceramic-core, glass-fiber composite and aluminium-layer constructions; the project bill of materials should identify which one applies.
Set up a clean, dry and stable work zone. Wind can cool the heater unevenly and carry contamination onto a softened surface; sheltering the fusion area is a practical control. Do not use an open flame to warm PP-R. Check power supply, extension-cord capacity, tool stand, die coating and thermostat indication. Wear the PPE required by the tool manual: the heater and dies can cause severe burns.
| Release check | What good looks like | Stop-work trigger |
|---|---|---|
| Components | Correct system, size and undamaged ends | Mixed, cracked, oval or unidentified parts |
| Tool | Approved, stable, clean dies | Loose, scratched or contaminated die |
| Environment | Dry, sheltered, adequately lit | Rain, dust, strong wind or unstable power |
Tools and the parameters you must control
A basic field set includes a square-cutting shear or saw appropriate to the diameter, deburring or preparation tools required for that pipe construction, a permanent depth marker, tape measure, clean lint-free wipes, an approved socket-fusion machine and correctly sized male/female dies. Larger diameters benefit from a bench or jig that controls force and alignment. See the pipe technology overview when the project uses composite PP-R, because preparation requirements can differ by construction.
| Parameter | Where to obtain it | Why guessing fails |
|---|---|---|
| Heater target | Approved system/tool instructions | Too low under-melts; too high degrades or closes the bore |
| Heating time | Diameter-specific chart | Thermal mass changes with size and construction |
| Insertion depth | Fitting/system chart or approved stop | Over-insertion can restrict flow; under-insertion reduces bond area |
| Changeover/hold/cooling | Approved fusion procedure | Movement before set can tear the molten interface |
Many PP-R tools are designed around a nominal 260°C operating region. For example, Ritmo specifies 260°C ±10°C for one official PP-R-capable machine. That is evidence about that machine—not permission to apply one temperature or time to every Hitze pipe. Verify actual plate temperature as required by the tool procedure, not just the indicator lamp.
Tool condition belongs in the same control loop. A die with damaged non-stick coating can drag softened polymer, while residue on the socket changes heat transfer and may contaminate the next joint. Let the tool reach a safe maintenance condition and clean it only by the method in its manual; metal scrapers and improvised abrasives can ruin the surface. Confirm that each die is firmly attached and concentric before the first production joint, then repeat the check after transport or a tool change.
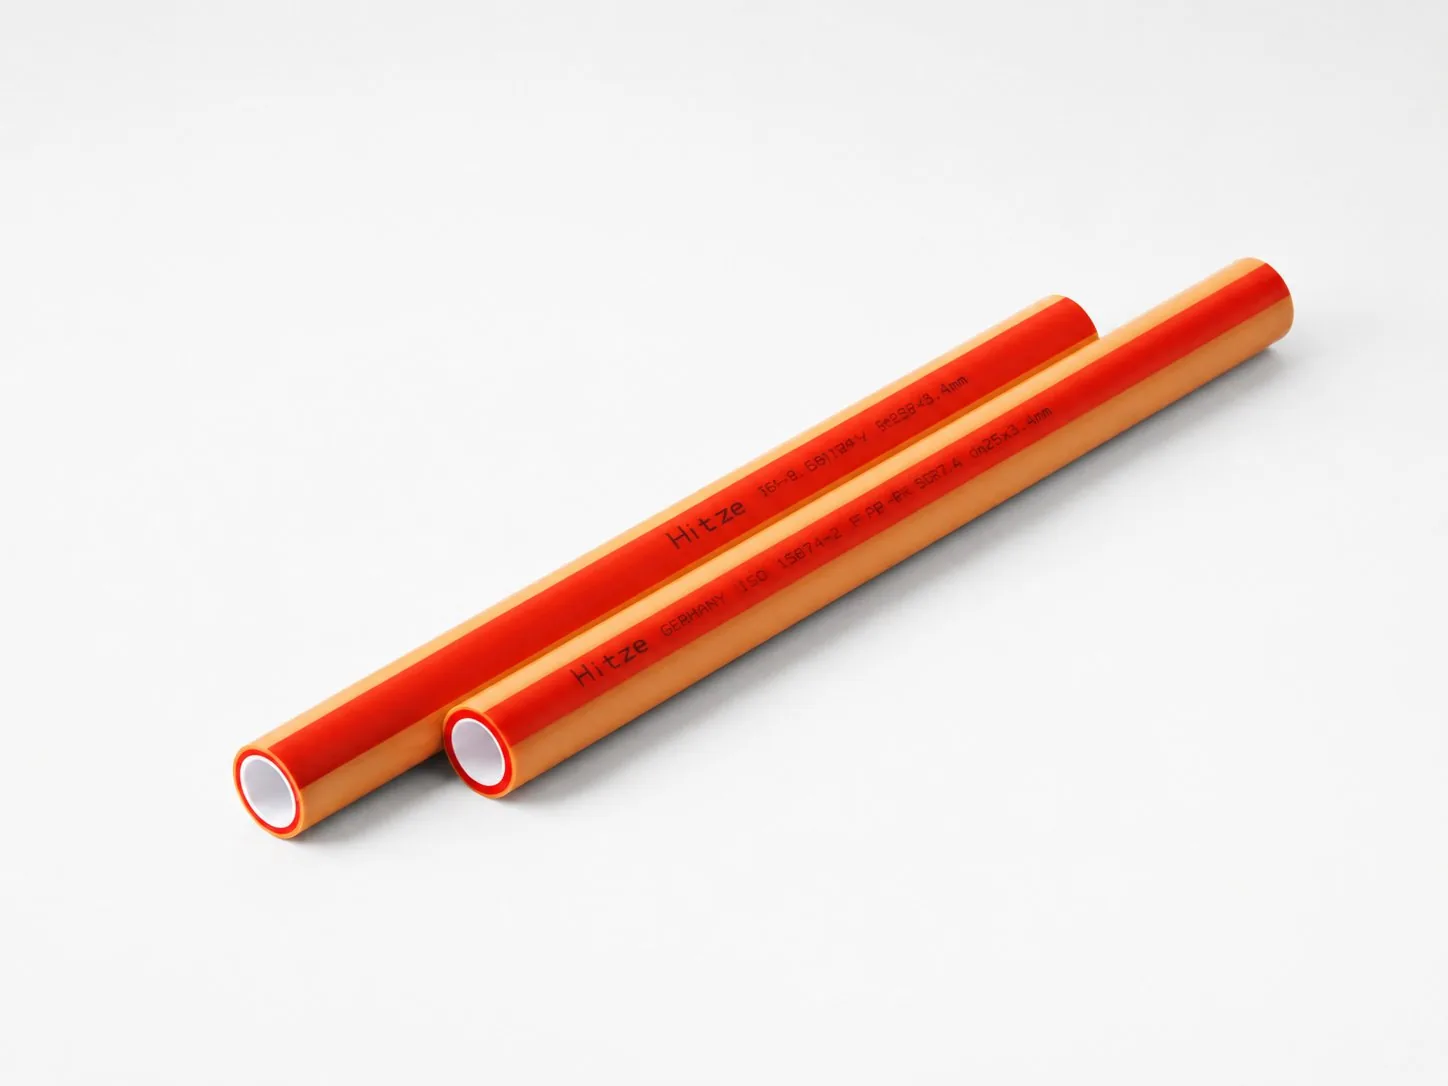
Composite pipe also deserves an explicit preparation line in the method statement. Do not assume that a fiber-reinforced or aluminium-layer pipe is prepared exactly like a homogeneous PP-R pipe. The approved system documentation must say whether any layer is peeled, calibrated, chamfered or left untouched. The safest field rule is simple: identify the exact construction first, then use only the matched preparation tool and depth instruction.
How to weld PPR pipe in eight controlled steps
- Cut square. Support the pipe and make a clean, perpendicular cut. Remove a damaged or distorted end rather than trying to fuse through it.
- Prepare the end. Remove burrs and loose chips. Use the specified peeling, beveling or preparation tool where the construction requires it. Never scrape away material arbitrarily.
- Clean and mark. Keep fingers off fusion surfaces. Clean only by the approved method and mark the required insertion depth plus an orientation line for elbows or tees.
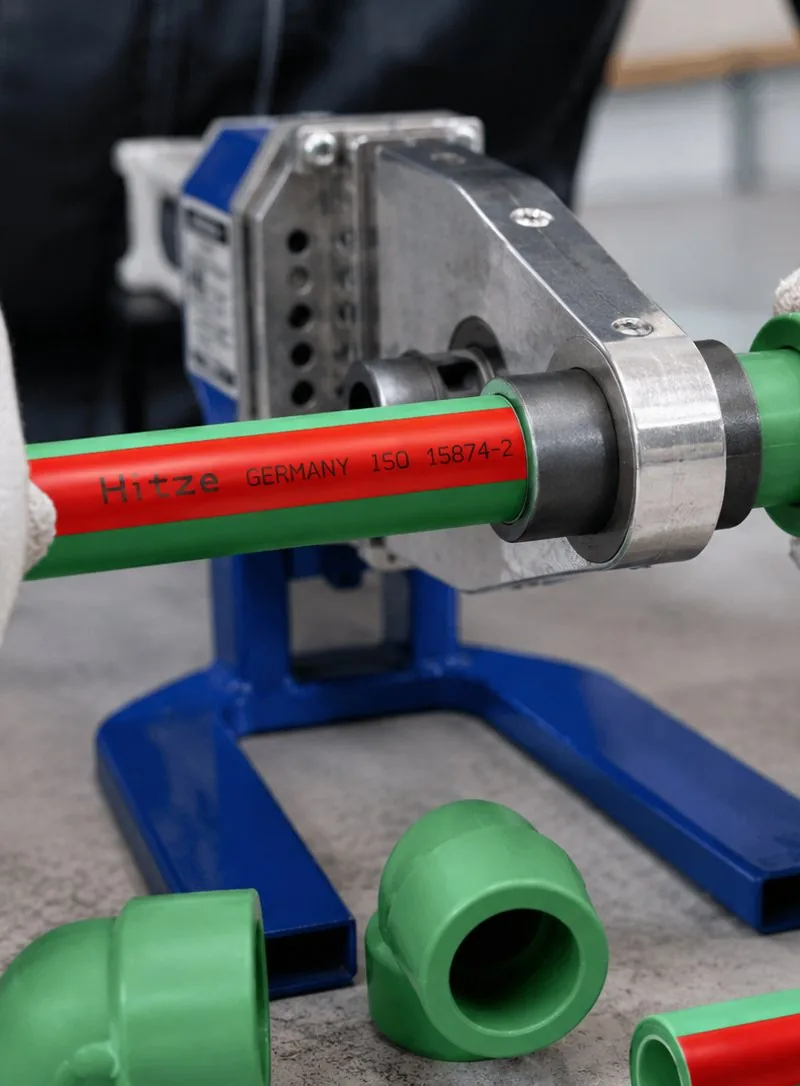
- Stabilize the heater. Fit clean dies, place the machine securely on its stand and allow it to reach and stabilize at the specified operating condition. Verify with the method required by the tool manufacturer.
- Heat both parts together. Push pipe squarely onto the female die and fitting squarely onto the male die to the specified depth. Do not rotate. Start the approved heating interval at the defined point in the procedure.
- Change over promptly. Withdraw both parts straight when heating is complete. Do not touch, wipe or pause over the softened surfaces.
- Join without twisting. Align the marks and push the pipe straight into the fitting to the marked depth. Do not exceed the mark and do not correct alignment by rotation.
- Hold and cool. Keep the joint motionless and unloaded for the specified hold period, then continue protected cooling for the full required interval. Do not quench it.
Inspect the joint before it disappears
Look for a uniform, continuous fusion bead around the circumference, correct insertion depth, concentric alignment and the intended fitting orientation. Check that the bore has not been visibly narrowed and that no dirt or charred polymer is trapped at the interface. Record and reject any joint that was moved during setting, heated twice, assembled after an excessive delay or made with a damaged die.
Appearance is a process check, not proof of long-term strength. For repetitive work, supervisors can qualify operators with destructive cut coupons and then audit workmanship through the site quality-control plan. If a joint is doubtful, cut it out and install new components; reheating a completed socket joint is not a controlled repair.
Common fusion mistakes and what they cause
| Mistake | Likely consequence | Prevention |
|---|---|---|
| Using a universal timer | Under- or overheating | Issue the approved size chart at the workstation |
| Twisting during assembly | Disturbed melt interface | Use orientation marks and join straight |
| Dirty or wet surfaces | Contamination and voids | Shelter, cap and clean components |
| Pushing past the depth mark | Internal restriction | Mark every joint; use a jig where practical |
| Loading during cooling | Misalignment or weak fusion zone | Support the run and respect cooling time |
Pressure-test the completed system
Do not treat one good-looking bead as commissioning evidence. After every joint has completed its required cooling period, isolate test-sensitive equipment, fill and vent the system by the approved method, use calibrated test equipment, apply the specified test sequence and inspect all joints. The actual pressure, stages, hold times, medium and acceptance criteria must come from the project specification, local code and system instructions.
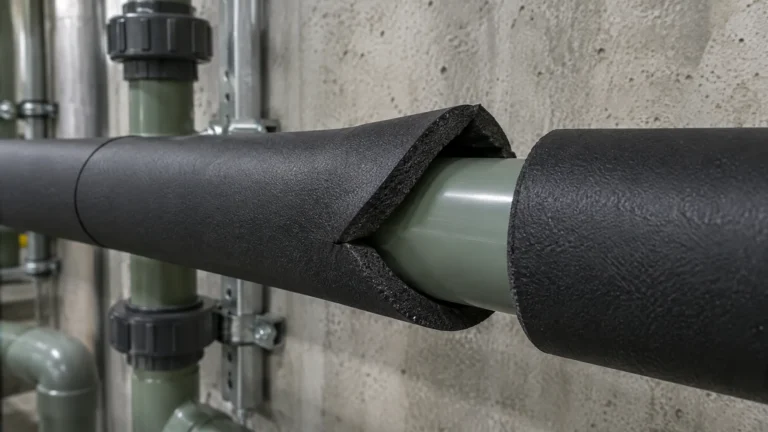
Hitze lists a PN40 manual pressure-test pump in the current PP-R catalog range, but the pump rating is not the permissible test pressure for every piping system. Record gauge identification, ambient conditions, test medium, start and finish readings, hold periods, observations and corrective action. Test before insulation, concealment or handover.
Build a repeatable site control plan
A credible method statement names the product system, applicable standard, machine and die set, verified parameter chart, preparation method, operator qualification, environmental limits, inspection method and pressure-test procedure. Keep a controlled copy beside the fusion station. For large projects, log representative joints by area, operator, date, size and tool. That record makes defects traceable and helps distinguish workmanship issues from design or handling problems.
For projects specifying European plastics-welding practice, DVS 2207-11 is the relevant heated-element welding reference for polypropylene. Confirm the exact edition and contractual status with the project engineer rather than assuming the citation is automatically mandatory in every market.
Organize work so the operator does not have to improvise during the short changeover window. Dry-fit supports and confirm fitting orientation before heating; stage the next component without exposing its fusion surface; and assign a second person to support long or heavy pipe where needed. On risers and overhead work, temporary supports must hold the joint without spring load through the full cooling interval. If access prevents a straight insertion and withdrawal path, redesign the assembly sequence or prefabricate the section rather than twisting a hot joint into place.
At shift start, make and inspect a qualification coupon under the actual ambient conditions when the method statement calls for it. Repeat after a major temperature change, die replacement, power interruption or machine fault. The aim is not to create a new fusion recipe on site; it is to confirm that the approved recipe, current tool and current environment are working together. Any deviation should stop production until the responsible technical authority accepts a correction.
Check certificate scope instead of assuming a logo covers every size and application. Hitze presents its PP-R certification evidence on the certifications and compliance page; procurement teams should still match the named product, standard and issuing body to their project requirement.
Where the Hitze PP-R range fits
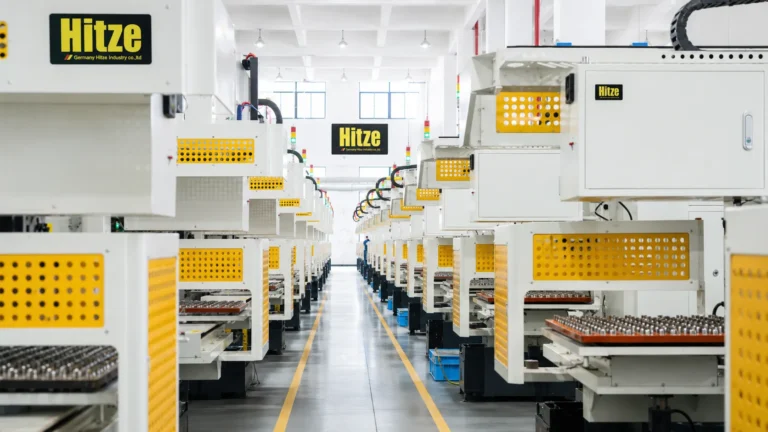
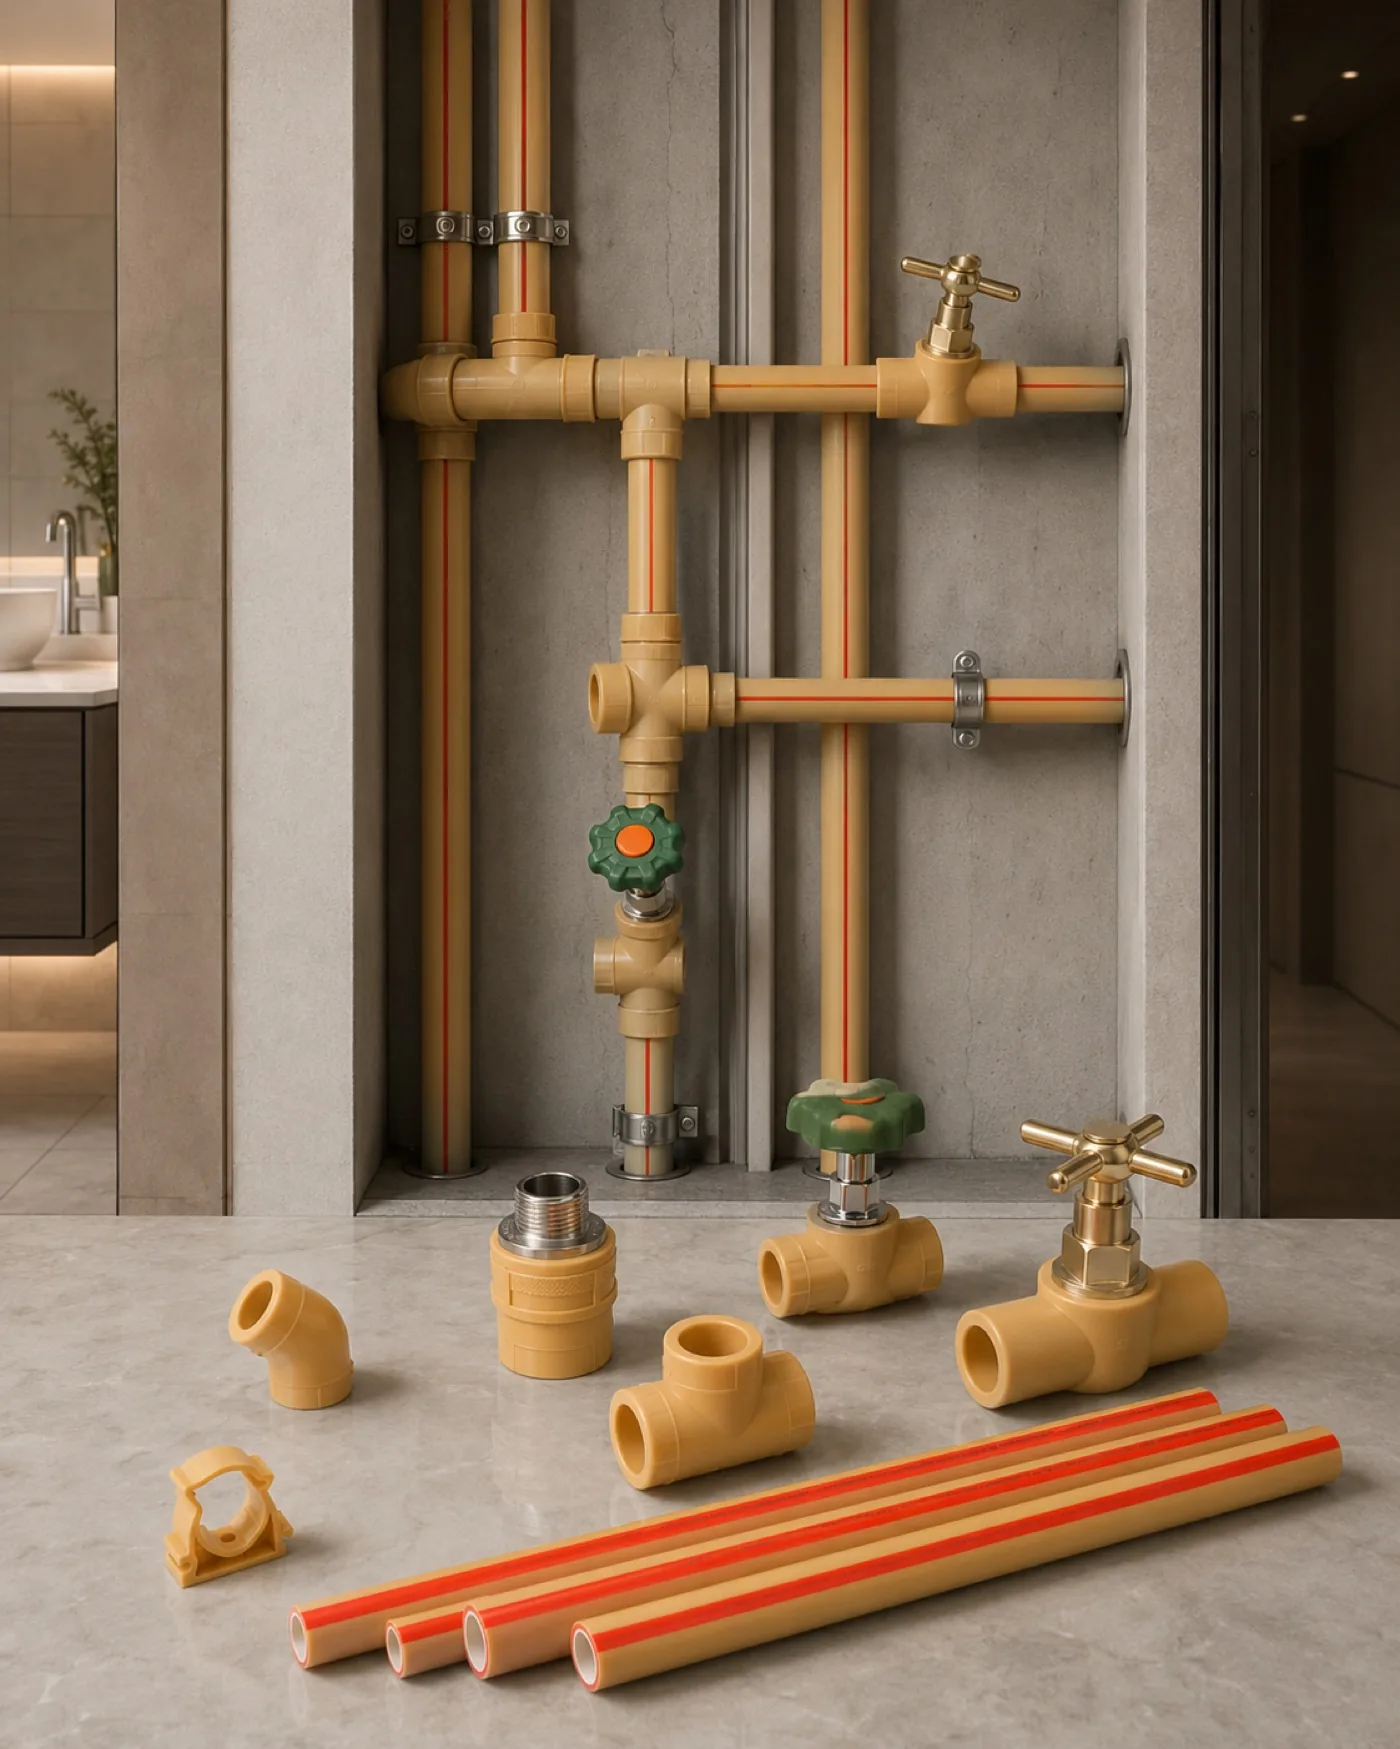
Hitze’s current catalog describes a matched heat-fusion system from OD20 to OD110, including pipe constructions for different thermal-movement and service requirements, a broad fitting family, fusion equipment and test equipment. It is designed around DIN 8077/8078 and EN ISO 15874. Those standards and product credentials support system selection; they do not replace the project installation procedure.
Conclusion
The safest answer to “how to weld PPR pipe” is a disciplined sequence plus a controlled parameter chart. Prepare accurately, heat together, join straight, hold without movement, cool fully, inspect and pressure-test. Where Hitze-specific numeric instructions are required, obtain the current approved welding chart before issuing the method statement.
Frequently asked questions
What temperature should I use to weld PPR pipe?
Use the temperature in the approved pipe-system and fusion-tool procedure. Many PP-R tools operate near 260°C, but that is not a universal Hitze setting and must not replace the size-specific chart.
Can I twist PPR pipe while joining it?
No. Align the orientation marks and push straight to the specified depth. Twisting can disturb the softened interface and create an inconsistent fusion zone.
Can a bad PPR weld be reheated?
Do not treat reheating as a controlled repair. Cut out a questionable joint and replace the pipe section and fitting under the approved method.
How long should a PPR joint cool?
Use the manufacturer’s diameter- and system-specific cooling time. Keep the joint unloaded for the full interval; do not accelerate cooling with water or forced air.
How do I know whether a PPR weld is good?
Check alignment, insertion depth and a uniform circumferential bead, then verify the completed system through the approved pressure test. Visual inspection alone cannot prove long-term joint strength.
Written by the Hitze technical content team from current product documentation and cited industry sources. Installation values remain subject to the approved system instructions, project specification and local code.